A few years back, I was making a Christmas stocking and couldn't figure out how to work this stitch in the round, but by the next stocking, I had it figured out. The pattern I used called for purling across the right side (the first and third rows), then working KPK and P3tog on the wrong side. To work in the round, I substituted PKP and K3tog for the second and fourth rows/rounds, and guess what? It worked. But all that purling!
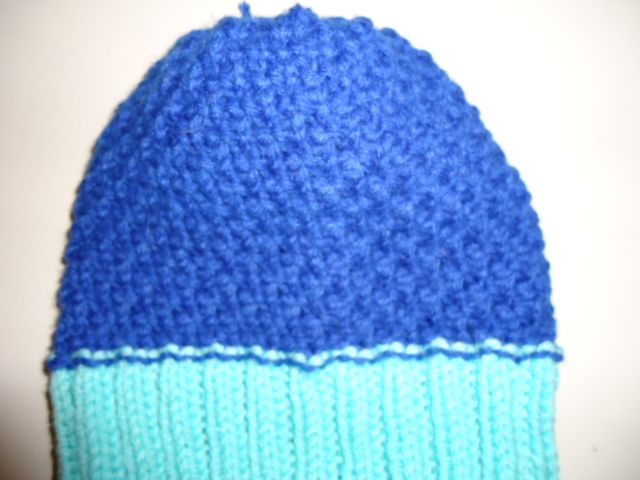
So I decided to try working this cap inside out: I would have the side facing me be the wrong side of the cap, the side that doesn't look like blackberries. The side away from me would be the side I wanted to be seen in the completed cap. Does that make sense?
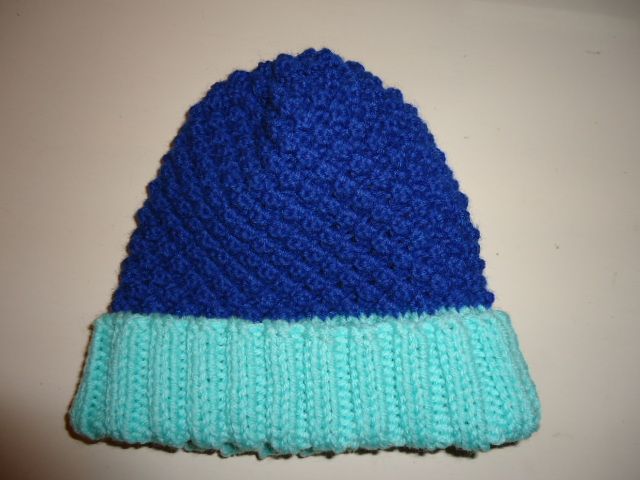
Here's how I did it. You'll need two colors of worsted weight yarn. I used less than a skein each of two acrylic worsted weight yarns, one unlabelled, one Dawn Sayelle. My gauge with size 7 needles over the 2x2 ribbing was 10 stitches in 2 inches. The trinity stitch contracted somewhat, but stretches enough to fit my 21" head. To make the cap bigger add stitches in groups of eight (Important for the decreasing to work out).
Cast on 96 stitches with first color.
Work in 2x2 ribbing for 4.5 " making sure your stitches aren't twisted and marking the end of round
Switch to second color and P one round.
Rd 1 and Rd 3: K around
Rd 2: (P3tog, KPK ) 24 times
Rd 4: (KPK , P3tog) 24 times
Repeat these four rounds until length from cast on edge is 9.5", ending with a Rd 1. Begin decreasing for crown.
Rd 1: (P3tog, KPK, K 2, K2tog) 12 times 84 stitches at end of round
Rd 2: (K 5, K2tog) 12 times 72 stitches at end of round
Rd 3: (KPK, P3tog, K2tog) 12 times 60 stitches at end of round
Rd 4: (K 3, K2tog) 12 times 48 stitches at end of round
Rd 5: (K 2, K2tog) 12 times 36 stitches at end of round
Rd 6: (K, K2tog) 12 times 24 stitches at end of round
Rd 7: K2tog 12 times 12 stitches at end of round
Rd 8: K2tog 6 times, with 6 stitches left.
Cut yarn, thread through these 6 stitches and pull tightly. Fasten off by securing yarn end on side of work still facing you. Also, weave in any yarn ends on this side.
Now, turn hat inside out and enjoy!
No comments:
Post a Comment